

How to Auto-Schedule Instagram Reels in 2026 (Without Reminder Notifications)
Stop relying on push notifications that interrupt your day. Here is how to schedule Instagram Reels for direct, hands-free auto-publishing in 2026 using official Meta APIs.
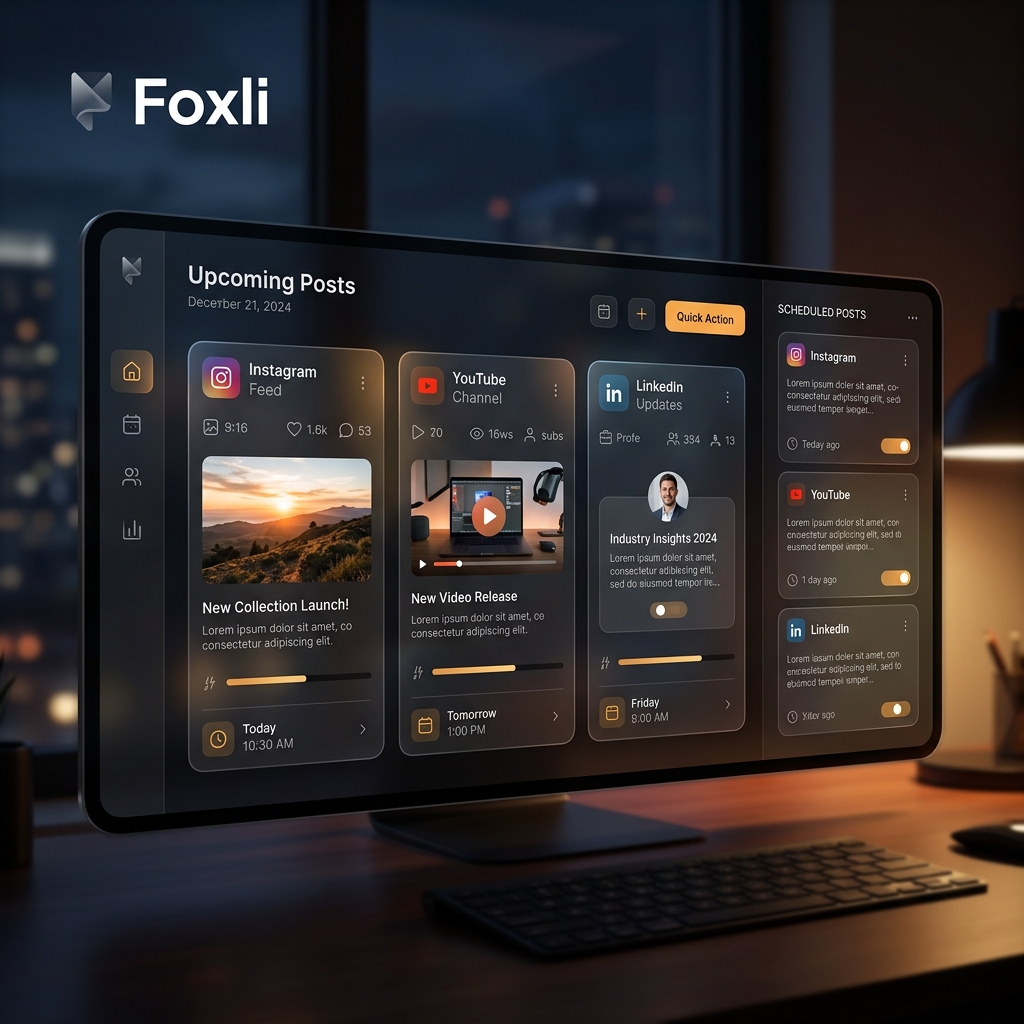
Why Reminder-Based Scheduling is Broken
If you have used traditional social media scheduling tools, you are familiar with the dreaded notification workflow: you schedule a Reel for Tuesday at 3:00 PM, but when Tuesday arrives, your phone buzzes with a reminder telling you to open the app, paste your caption, and manually hit publish.
That is not automation—that is an alarm clock.
In 2026, content creators and marketing teams need direct auto-publishing. When you schedule a Reel, it should publish automatically to Instagram without requiring you to touch your phone, unlock your screen, or interrupt a meeting.
Prerequisites for Direct Instagram Reel Scheduling
To enable direct auto-publishing for Instagram Reels, Meta requires two basic account criteria:
- An Instagram Business or Creator Account: Personal profiles do not have API access for automated video publishing. Switching from a Personal account to a Creator or Business account is completely free in Instagram settings.
- Connected Facebook Page: Meta's Graph API verifies account authenticity through a linked Facebook Page with administrative access.
Once these two items are connected to a certified social media management platform like Foxli, you unlock full direct publishing for Reels, carousels, and single images.
Ideal Video Specifications for Instagram Reels
Before uploading your video file to your scheduler, verify your export settings to prevent compression artifacts:
- Aspect Ratio: 9:16 (1080 x 1920 pixels recommended).
- Format: MP4 or MOV with H.264 / H.265 video codec.
- Audio: AAC codec at 128 kbps or higher.
- Frame Rate: 30 fps or 60 fps.
- Duration: Up to 90 seconds for standard Reels.
- File Size: Under 100 MB for faster processing and smooth API transfer.
Step-by-Step: How to Schedule Instagram Reels with Foxli
Step 1: Connect Your Instagram Account
Log in to your Foxli dashboard and navigate to Connected Accounts. Click Connect Instagram and authorize via Meta's secure OAuth flow. Foxli uses official Meta APIs, so your passwords and private account credentials are never stored.
Step 2: Upload Your Reel & Set Your Caption
Click Create Post in your dashboard. Drag and drop your vertical video file into the media uploader. Write your caption, format your line breaks, and select your hashtags.
Step 3: Choose Your Publishing Time
Select your preferred publication date and time. Look at your built-in analytics dashboard to see when your audience is most active.
Step 4: Utilize Smart Comment Automation (Star Feature)
One of the biggest time sinks is cross-posting the same video across multiple platforms. With Foxli's Smart Comment Automation, you can configure rules between Instagram and Facebook:
- Publish natively on Instagram with a predefined trigger comment (for example,
#crosspost). - Foxli instantly detects the trigger comment and automatically publishes that exact post to your connected Facebook Page.
- You save repetitive manual uploading while keeping both channels active.
Best Practices for Reels Scheduling
- Front-load the first 3 seconds: Attention spans are shorter than ever. Ensure your video has dynamic motion or on-screen text immediately.
- Keep captions readable: While hashtags are helpful for discovery, 3 to 5 targeted keywords in your description help Instagram's recommendation engine categorize your video accurately.
- Monitor engagement in your centralized dashboard: Track views, retention, and interaction rates in real-time to refine your next week of scheduled content.
Summary
Manual posting limits your consistency. By transitioning to direct auto-publishing with Foxli, you maintain a consistent content schedule across Instagram and Facebook without being glued to your screen.